Your references are correct and your reference list still looks wrong. The indents are ragged because you pressed Tab, the alphabetical order broke when you added three sources at 2am, and the spacing changes halfway down because two entries were pasted from different places. None of this is a referencing problem. All of it is a Word problem, and it takes about twenty minutes to fix permanently.
This guide covers the four mechanics that make a reference list look like a reference list — hanging indents, alphabetical order, consistent spacing and the final matching check — with Microsoft’s own documented steps for Windows, Mac and the web.
1. The hanging indent, done properly
A hanging indent puts the first line of each entry at the margin and indents every subsequent line of that entry. Microsoft describes it as “a second line indent” and defines it as setting off the first line of a paragraph by positioning it at the margin and then indenting each subsequent line.
Do it with the paragraph setting, never with Tab or spaces. A tabbed indent looks right until you edit a word earlier in the entry, at which point the text reflows and the alignment collapses.
| Platform | Microsoft’s documented steps |
|---|---|
| Windows | Select the text. Go to Home > Paragraph Settings dialog launcher > Indents and Spacing. Under Special, select Hanging. Adjust the depth with the By field. Select OK. |
| macOS | Select the paragraph. Go to Format > Paragraph. Under Special, select Hanging. Adjust with By. Select OK. |
| Word for the web | Select the text. Go to Home > Paragraph dialog launcher. Under Special, select Hanging. Adjust with By. Select OK. |
Source: Microsoft Support, “Create a hanging indent in Word”, which lists the procedure as applying to Word for Microsoft 365, Word 2024, Word 2021, Word 2019 and Word 2016, and to the Mac versions of each.
The depth is conventionally 1.27 cm, though nothing turns on the exact figure provided every entry uses the same one. Which is the argument for the next step.
2. Make it a style, not a selection
This is the step that separates a list you format once from a list you reformat every time you add a source. Instead of applying the hanging indent to selected text, create a paragraph style that carries it.
- Format one reference entry exactly as you want every entry to look — font, size, line spacing, spacing before and after, and the hanging indent.
- With the cursor in that paragraph, create a new style from it and call it something obvious, such as “Reference”.
- Apply that style to every entry in the list.
- When you need to change something later — the department wants 1.5 line spacing, say — change the style once and every entry updates.
The same logic is why you should paste new references as plain text. Pasting with formatting imports the source document’s spacing and font, which is how a list ends up with three different line heights, and applying your own style afterwards fixes it in one action.
3. Alphabetising, and what Word gets wrong
Word will sort your list for you: select the entries, then use the sort control on the Home tab and sort paragraphs ascending. That handles ninety per cent of it, and you then fix the rest by hand, because Harvard has ordering rules that a text sort does not know about.
Three rules that matter, using the conventions published by the University of Leeds Library for Leeds Harvard:
- Same author, different years. Order chronologically, oldest first.
- Same author, same year. Distinguish them with a lower-case letter after the year — 1998a, 1998b, 1998c — and use the same letter in the in-text citation. Leeds gives the citation form as “(Jones, 1998a). In a work published later that year, Jones (1998b) proposed that…”.
- Several sources cited together in the text. Order them by year of publication with the oldest first, separated by semicolons, putting any source with no date last. Where more than one was published in the same year, list those alphabetically by author surname.
Things a text sort will also get wrong and you should check by eye: a leading “The” in an organisation’s name, entries beginning with a number, and surnames with prefixes such as “de” or “van”, where practice varies and your own guide decides. If you use a reference manager, it applies these rules for you — our comparison of Zotero, Mendeley and EndNote covers which suits a dissertation-scale project.
4. Spacing, and the one setting nobody checks
Three settings decide whether a list reads cleanly, and they should be set in the style rather than entry by entry:
- Line spacing within an entry. Whatever your handbook specifies for the document, applied consistently.
- Space after the paragraph. A small gap between entries, set in the paragraph settings. Never an empty line created by pressing Return — blank paragraphs break sorting and produce gaps at page boundaries.
- Keep lines together. Switch this on for the reference style so a single entry is not split across two pages.
The last one is the setting nobody checks and the one a marker notices immediately, because a reference broken across a page break is the most visible formatting fault a bibliography can have.
5. The check that actually earns marks
Formatting is presentation. The check below is the one that protects content, and it takes about an hour once.
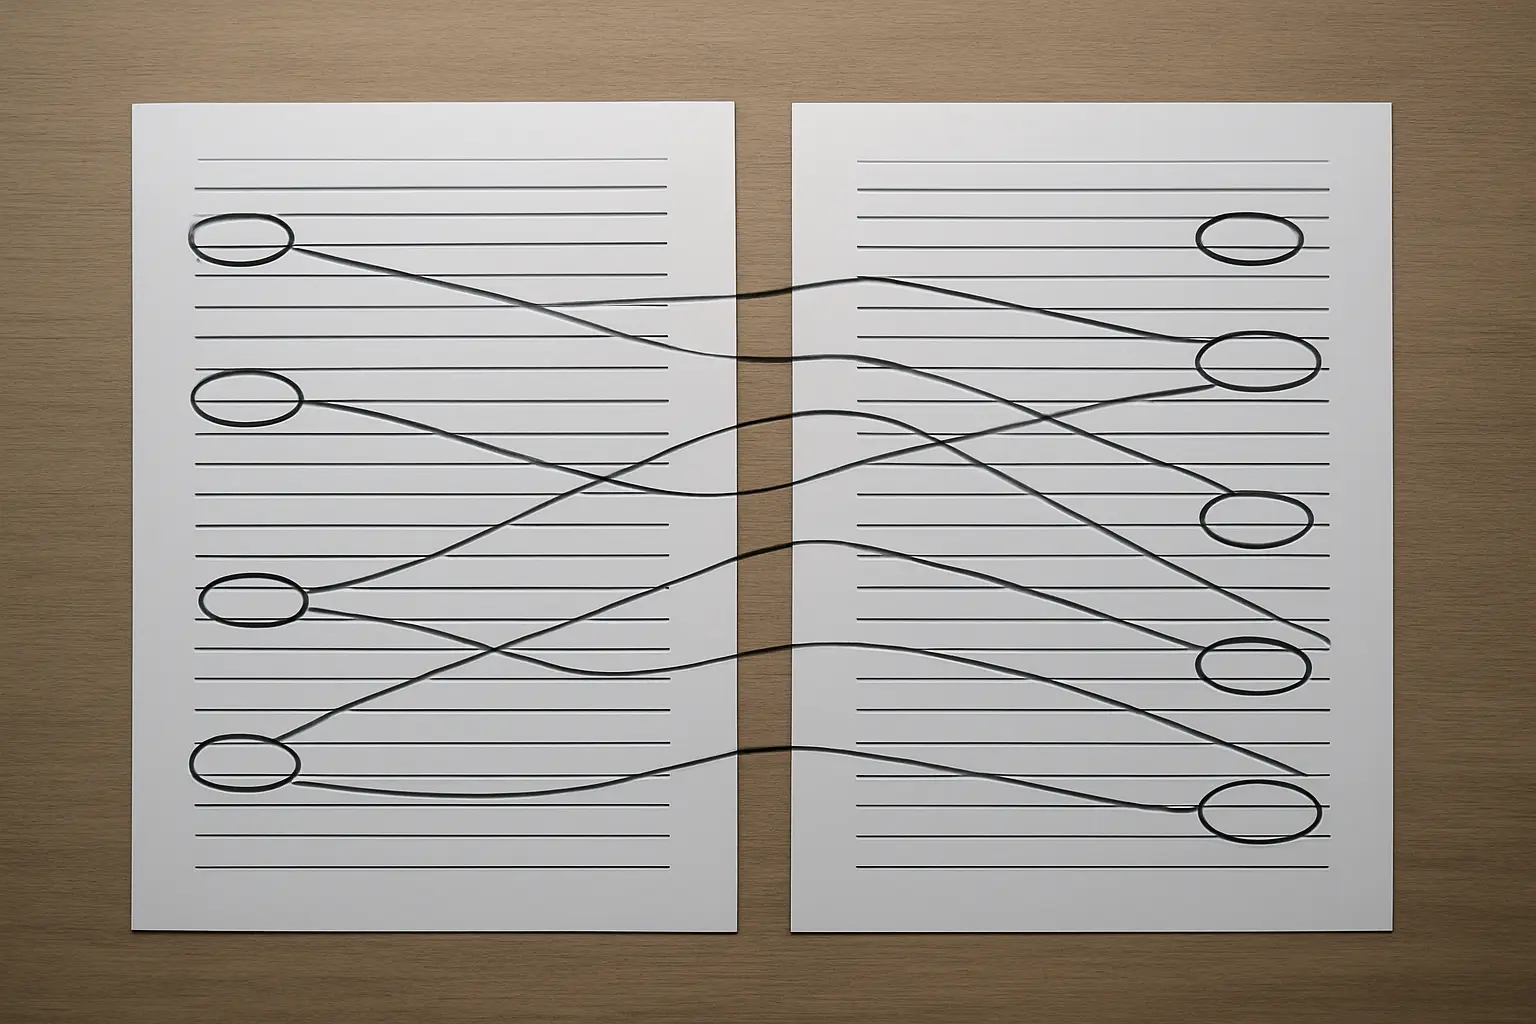
- Match the two lists. Every in-text citation appears in the reference list, and every reference list entry is cited somewhere in the text. Nothing else on this page catches more marks.
- Check the order after any manual additions, including the same-author rules above.
- Check five entries in detail against your own guide — one of each source type you use. If all five are right, the pattern is right.
- Check the unusual sources individually — reports, government publications, legislation, theses, lecture material. This is where automated tools guess. Legal sources in particular have their own patterns, covered in our guide to citing UK legislation and cases in Harvard.
- Confirm that every entry is a source you opened. The fastest search a marker can run is on a reference that does not exist.
A reusable reference-list setup
If you are starting from scratch, this configuration works for almost every UK department and takes five minutes to build once:
- A paragraph style called “Reference”, based on your body text style.
- Hanging indent, 1.27 cm, set through Special > Hanging.
- The line spacing your handbook specifies, with a small space after each paragraph and none before.
- “Keep lines together” switched on.
- Alignment left rather than justified, so the ragged right edge does not create rivers of white space in entries containing long URLs.
- A heading above the list styled as Heading 1 or Heading 2 to match your chapters, so it appears correctly in an automatic contents page.
What goes into each entry — which Harvard your department means, what the 13th edition of Cite Them Right changed, and the four standard patterns — is covered in our complete UK Harvard referencing guide. For AI output, see referencing ChatGPT and generative AI in Harvard. Law students using footnoted citations have a different set of mechanics entirely — start from OSCOLA.
If the bibliography is where your final week is going, that is clerical work no marking criterion rewards. Tesify builds your bibliography from what your text actually cites, in your chosen style, so cited-but-not-listed and listed-but-not-cited stop being possible. Everything stays 100% written by you, and it is free to start.
Frequently asked questions
How do I create a hanging indent in Word?
Select the text, open the paragraph settings dialog, and under Special choose Hanging, adjusting the depth with the By field. On a Mac the route is Format > Paragraph. Never use Tab or spaces.
How deep should the hanging indent be?
1.27 cm is the usual default and nothing turns on the exact value, provided every entry uses the same one. Setting it in a paragraph style is what guarantees that.
Can Word alphabetise my reference list automatically?
It can sort the paragraphs ascending, which handles most of it. You then check by hand for the Harvard-specific rules — same author across years, same author in the same year, leading articles in organisation names.
How do I handle two sources by the same author in the same year?
Add a lower-case letter after the year — 1998a, 1998b — and use the same letter in the in-text citation so the reader can tell which one you mean.
Should the reference list be double spaced?
Whatever your handbook specifies for the document. Consistency matters more than the specific value, which is the argument for setting it in a style.
Do I put a blank line between entries?
Use paragraph spacing rather than an empty line. Blank paragraphs break sorting and create odd gaps when the list falls across a page break.
Is it a reference list or a bibliography?
A reference list contains only works you cited; a bibliography may also include works you read but did not cite. Most UK dissertations ask for a reference list.
Does the reference list count towards my word limit?
It depends entirely on your department, and UK practice genuinely diverges. Find your own inclusion rule before allocating words — our survey of undergraduate dissertation word counts covers what is and is not counted.